Capri Engine Rebuilds
Ford Capri 2.8 injection Project Car
We were having problems with the running of the engine on tickover, we had taken it to a Capri specialist and were told that the tickover problems were down to the amount of fumes being generated within the engine and being recirculated through the intake vacuum system. The fumes could be re-burnt quite easily while the engine was at high rpm but on tickover they basically choked the engine into submission and it would stall. Also when the throttle was fully open the fumes could possibly take a different path to atmosphere because of a lack of vacuum.
The only way we could see of solving this
problem was to do a decoke of the top end. So a gasket set was ordered
and the work was started.
Photos were taken as bits came off which can be seen below.
Almost immediately we had problems as a
screw on the airbox snapped and had to be removed, it was also evident
that some of the hoses needed to be cut back or replaced.
The injector securing screws were removed but not until one had snapped
and again had to be drilled and removed with a stud extractor.
The intake manifold was removed and the amount of gunge that was stuck to the intake manifold underside was amazing, you could gouge off great lumps of it with a scraper or screwdriver. Likewise with the internal sides of the cylinder heads there were large amounts of gunge that had to be removed.
| Taking it apart. | |
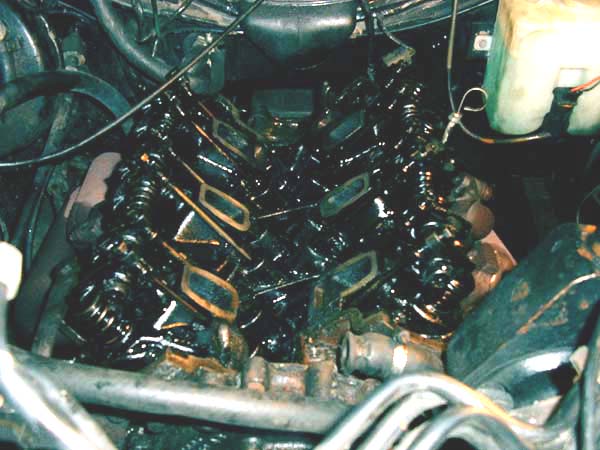
| As you can see the internals of the engine were in a pretty poor state. 23 years of gunge had accumulated on all the internal parts. | 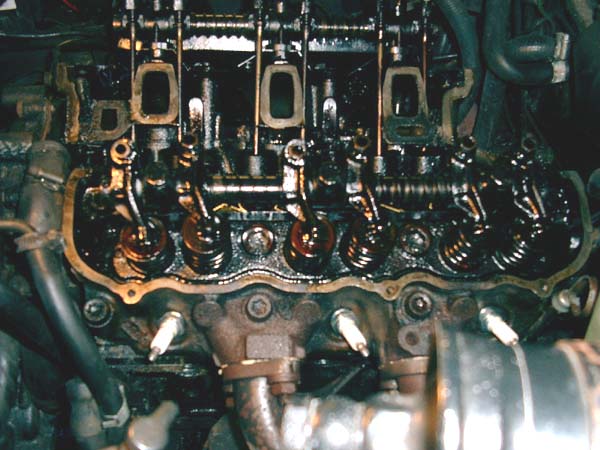 |
| Shows the amount of gunge that was stuck to the bottom of the intake manifold, this surface faces down onto the top of the camshaft casing, the main engine block.. | 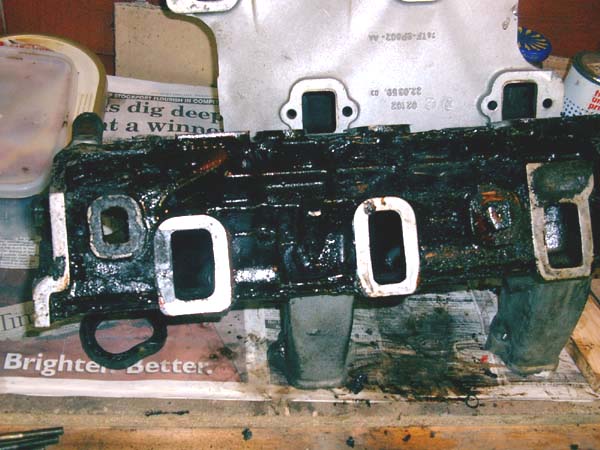 |
| Close up of the above. As you can see the gunge was like a black tar that was very difficult to remove. | 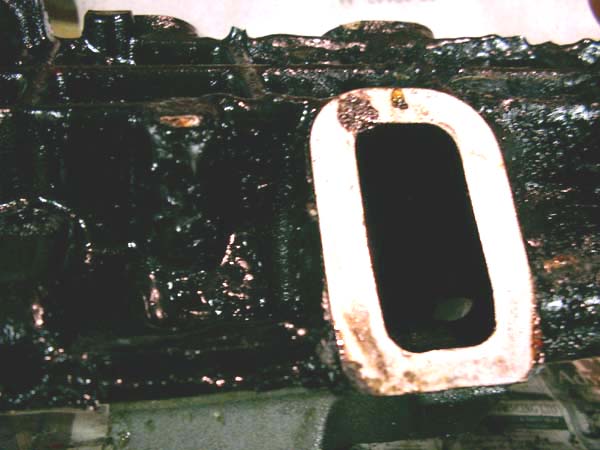 |
| This is a sample of what we were able to take off the bottom of the intake manifold which straddles not only the cylinder heads but also the top of the crankcase. | 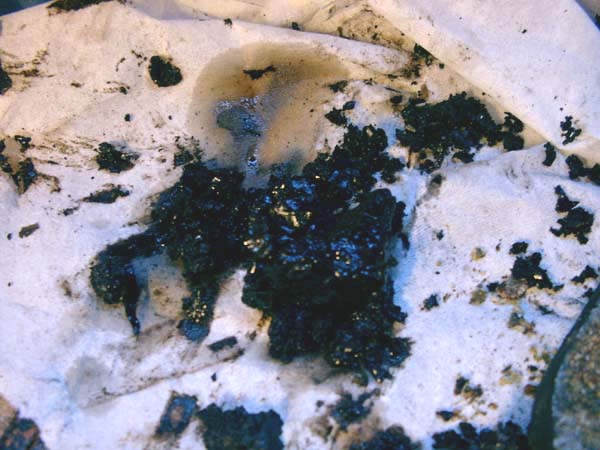 |
| This is the bottom of the temperature sensor housing which bolts to the same alumium plate as the warm up regulator and in turn is bolted to the intake manifold, you can see the amount of corrosion that was evident in the cooling system. | 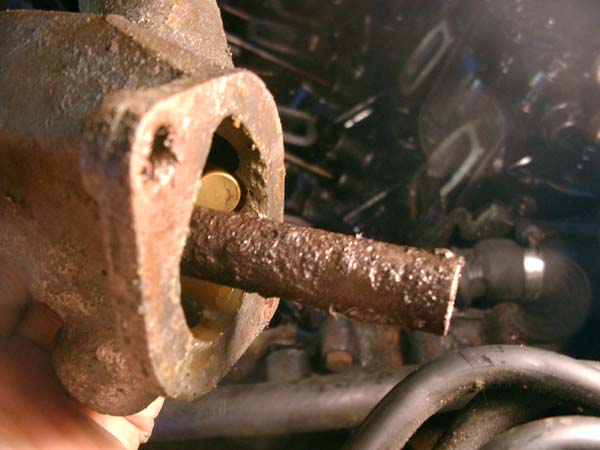 |
| This is the warm up regulator seen from the bottom, this is normally bolted to an aluminium plate which in turn is bolted to the intake manifold and transfers the engine temperature to the regulator in order to meter the fuel to the injectors. There is a pinhole which allows one side of the diaphragm to be open to atmosphere to allow free movement, as you can see the pinhole was blocked by corrosion. The air gap around the temperature sensor was also completely covered. The corrosion came from the aluminium plate, once cleaned the warm up regulator was fine although the aluimium plate was heavily pitted. | 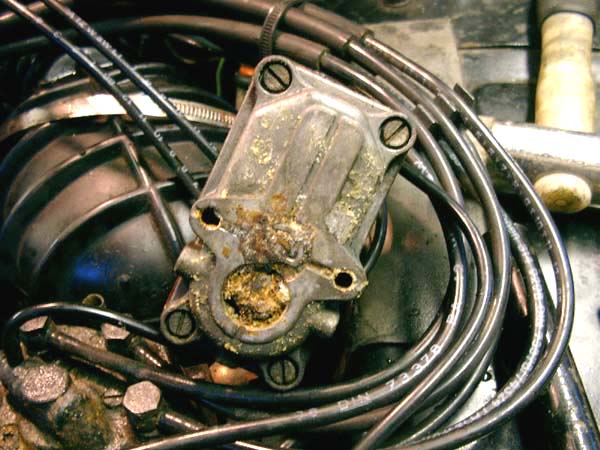 |
| Putting it back together. | |
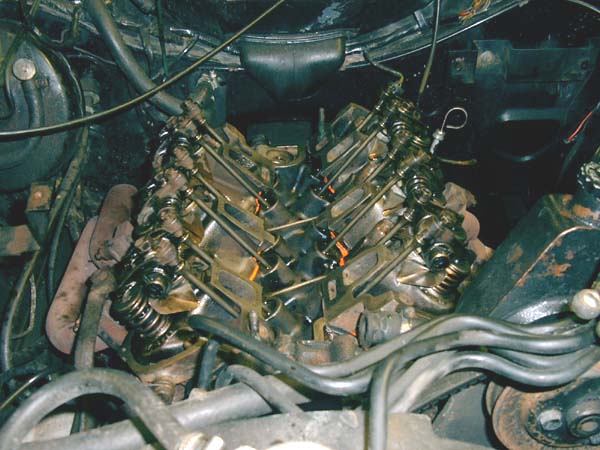
| One of the cylinder heads cleaned up and ready for assembly. |  |
| Here with the ports reground. | 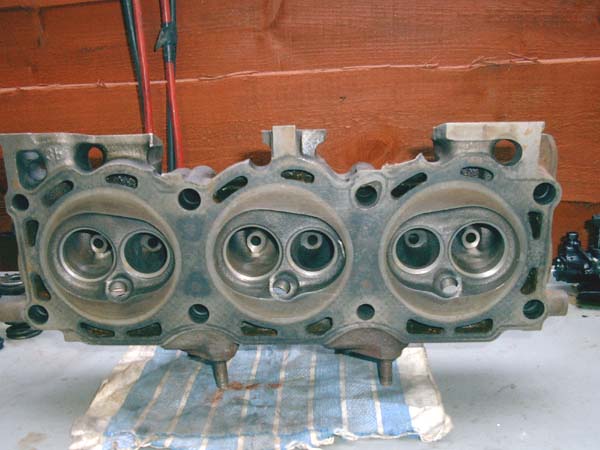 |
| Close up of the above, nice clean even surfaces. | 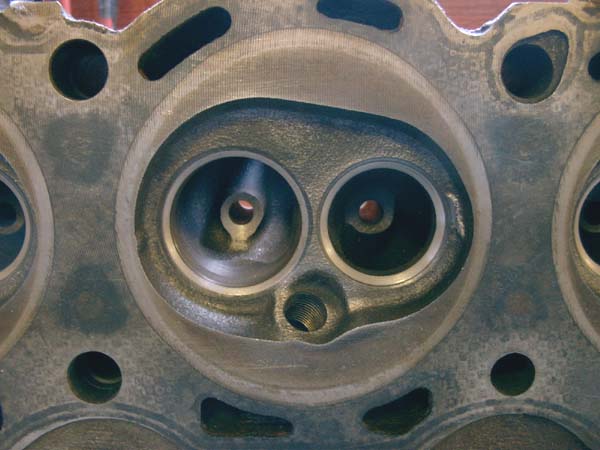 |
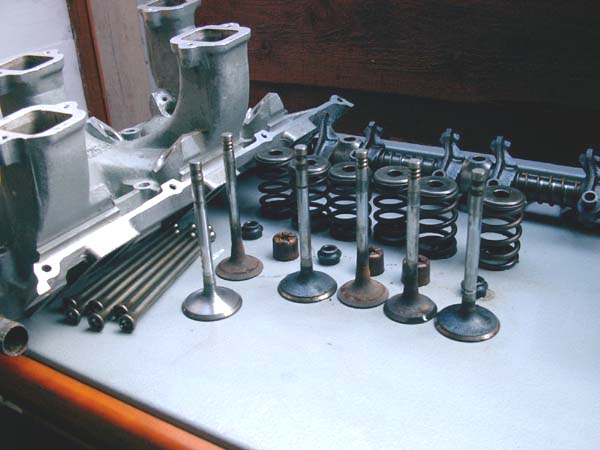
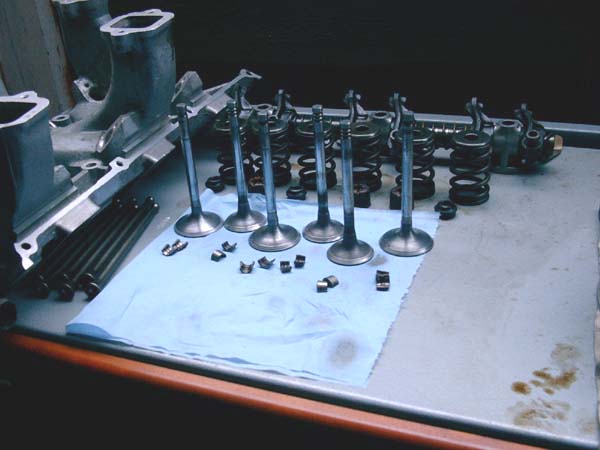
| Valves, rocker shafts, push rods, cylinder heads and intake manifold all cleaned and installed. | 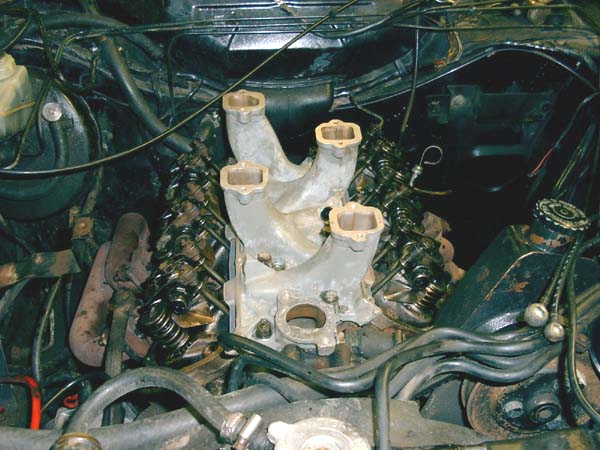 |
| Injectors now installed with new cap head screws and manifold seals, also the warm up regulator, and temperature sensor housing. | 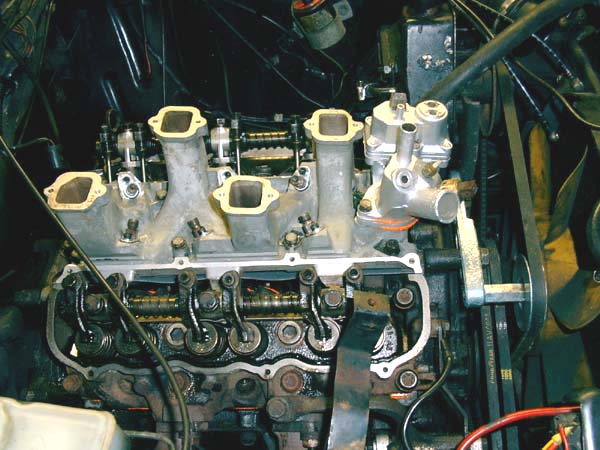 |
| Injector fuel pipes installed. | 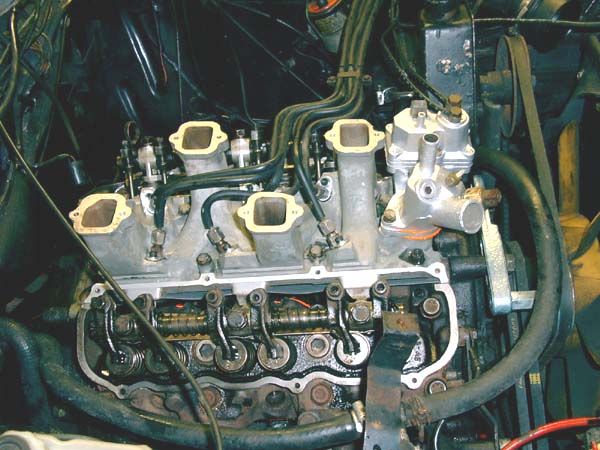 |
| Rocker/valve covers installed including one way breather valve which had been cleaned so that it works freely. | 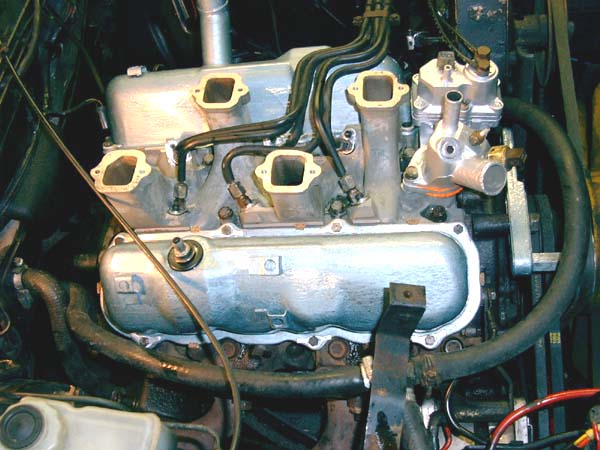 |
| Mostly back together now, with all the injection system in place new bolts on the airbox and new jubilee clips wherever required. | 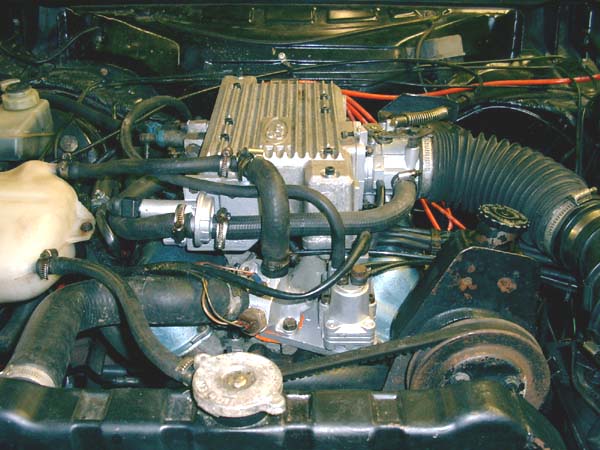 |
|
Once the engine was re-assembled we ran the engine on tickover for 20 minutes with diesel in instead of engine oil and a new oil filter. We also flushed the cooling system 3 times with clean water and then refilled with a 25% antifreeze solution. After runnning the engine we found that we still had the same problems on tickover, but knowing that we still had to re-adjust the head bolts we would take the opportunity at that point to check and adjust the valve clearances. When we did check them we found that there was no clearance at all on the exhaust valves tappets so adjusted them accordingly. When we restarted the engine it immediately went up to 3000rpm, we switched off to avoid any damage and adjusted the tickover and throttle down. Obviously the valve clearances had more of an effect on the tickover problem than the fumes in the engine. We ran the engine again for 20 minutes with diesel instead of engine oil and a new oil filter. The engine was now running nice and smooth with none of the lumpiness or faltering that had previously been evident. Changed the diesel for fully synthetic engine oil and a new filter and checked and adjusted the throttle and tickover. The engine now runs very smoothly and there has been a marked change in it's responsiveness and acceleration. There is now no problem with the tickover. |
|
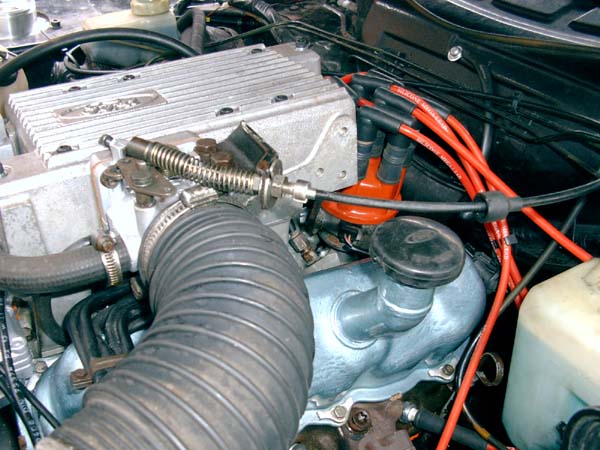
| Another photo taken in the daylight, final adjustments of the throttle and tickover in progress. | 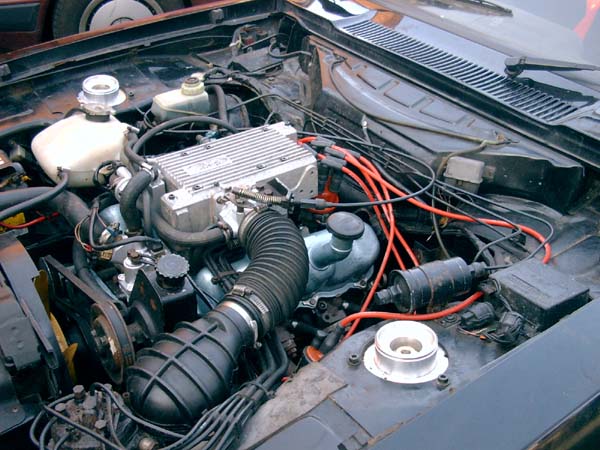 |
| Just the bonnet to put back on. |  |
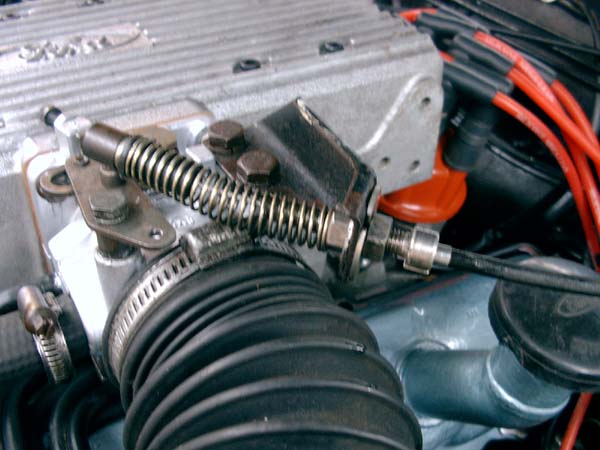
Something else we decided to alter was the throttle cable adjusting setup which had got damaged when pulling the oil filler cap off it's tube. The plastic bits were replaced with an M8 stainless cap head bolt that had been drilled down the centre to accomodate the cable and also a slot cut along it's full length to allow it to be slipped over the cable without the swaging on the end needing to be disturbed. The hexagon hole in the head was also drilled larger to 7.5mm to accept the end cap of the cable hose which made a good locating hole. |
|
| Some before and after shots | |
| Here you can see the before and after cleaning and re-assembly of the cylinder heads and the camshaft housing. | |
 |
|
|
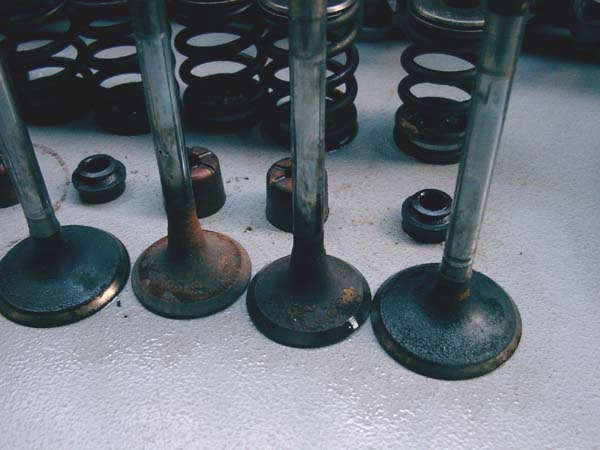
Here you can see the effect of the burnt gases on the intake valves
and stems, completely coated in black carbon. |
|
  |
|
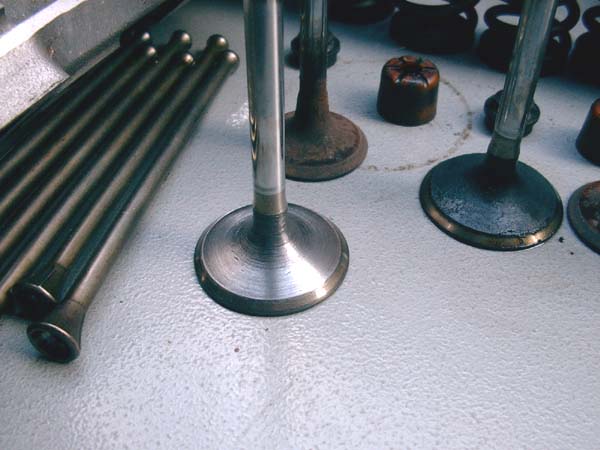
| The valves before and after cleaning, you can also see the intake manifold on the left which has obviously been made a lot cleaner than the when it came out of the engine, see above images. | |
  |
|

Thanks to Barry Smith, Phil Robinson and Chris Clarke for advice.